Handy hint #1 – Classy & brassy, removing paint from Brass. 

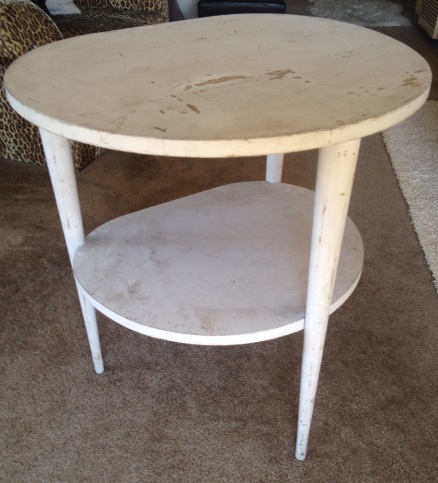
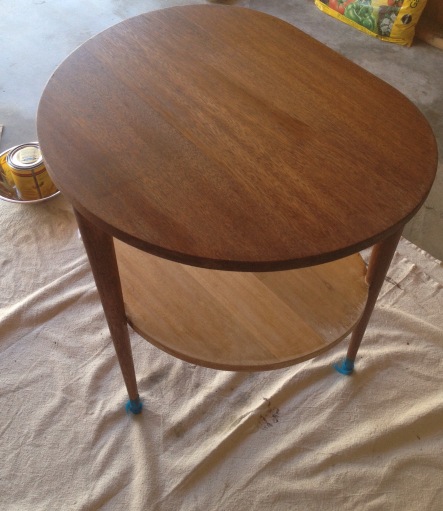
Here at Atomic Magpie, we spend as much of our time cleaning and restoring vintage items as we do sourcing them. Pieces that are 40+ years old come in all conditions. From pristine and barely used to well loved, thrashed and modified.

Looking past decades of paint, grime and use can be challenging. That said, seeing good bones underneath 1980’s seafoam green paint and then restoring the item to its original glory is extremely satisfying.

Along the way I have picked up many handy hints and tricks for restoring items, and this post is going to talk about one of them.

Before. These Danish modern candlesticks covered in paint, have seen better days

This gorgeous pair mid century Danish modern candlesticks had been gold spraypainted (badly). Maybe the original owner didn’t feel like polishing them? Or wanted a matte finish? One can only guess, but they were covered in an uneven, drippy coat of paint and looked miserable.

A close up of the sadness

Here’s where the fun starts! After doing some research, I learned that brass expands when heated. Meaning that heating it would almost force the paint to come off. I’m no scientist, but this sounded legit, so onwards to heating the candlesticks.

After filling an old pot (that wasn’t going to be used for food again) with water and a shake or two of baking soda (I’m not big on measuring), I boiled the candlesticks for about 90 minutes.

The film of old paint appeared very quickly

The paint started to come off almost immediately – and stuck to the pot, which is why you should use an old one you don’t plan on using again for food prep. It should also be noted that it’s probably a good idea to do this in a well ventilated area, with the window open or an exhaust fan on. While the smell wasn’t terrible, it was present and, like all things old paint, you are never quite sure what you’re dealing with unless you’re the one that first painted it (lead anyone?)

Bubble , bubble, toil and trouble!

After removing the pieces from the pot, they were scrubbed gently with a regular kitchen sponge/scourer to get the remaining paint residue off. An engineer friend mentioned afterwards that it’s probably not a wise idea to put heated metal directly under cold water, as it can crack with the sudden heating and cooling/expanding and contracting. Brass is a softer metal so that doesn’t typically happen, but if you’re not 100% sure what type of metal you’re dealing with, take care with that step.

Last up, a quick polish with one of my faves – the ever trusty “Barkeepers Friend”. This stuff is amazing, and polished the brass in an instant.  Pretty flash I think!

Shiny, shiny!
Advertisement

The Little Table That Could.

Sarah from Atomic Magpie scored this sweet but battle scarred end table and transformed it into a thing of beauty. Here’s how she did it.

A few weeks back I found this beat up little end table on a local swap and sell site. Wedged in a corner, covered in office junk, paint scratched and dirty, and looking generally pretty sad. To many, not worth a second glance…but those legs! One look at the tapered legs, and this table screamed out “buy me! Save me! I am fabulous waiting to happen!” and I knew it had to be my next project.

Before, sad and dingy

I determined pretty quickly that the table was solid wood, covered with layers of lousy paint jobs over the original varnish. So I set about stripping the layers of dirt, paint and stain off, and uncovered a few little surprises along the way. The first happy surprise I unearthed was the brass ferrules on the feet of the table. Covered in decades of paint, these beauties were the cause of great excitement. A staple of mid-century design, I adore brass tipped table legs, and these ones were fantastic.

Oh the joy! Brass Ferrules

Next up, after stripping the top using an Eco-friendly, low fume paint stripper that I was able to use indoors (EZ Strip, Paint & Varnish Stripper) I found that I had in front of me a gorgeous mahogany table top, with a few water stains here and there, but nothing some sanding couldn’t remedy. The legs were a bit more work, requiring a lot of elbow grease, paint stripper and a wire brush. But it got there, and soon I had before me a stripped clean wooden end table with endless possibilities.

Stripped
Uncovered – water stains and Mahogany

I sanded the whole table using a handheld block sander with 100 grit sandpaper. I finished with a fine sandpaper (220 grit) The good condition of the wood, and the stunning grain, made it an easy choice for staining rather than painting. I chose Minwax Special Walnut as the stain, and used a lint free rag to wipe it on, and then off. I did about 6 coats to get the colour I wanted, and had a couple of minor hiccups along the way, mostly with the legs and some small spots of old varnish I had missed. A quick go over with sandpaper on those spots, a touch more stain and the problem was solved.  

Stripped and one coat of stain down

Early on, it was decided a pop of color would really make this table shine. Wanting to stick with the mid-century feel of the table, I chose a vibrant Aqua blue paint for the bottom shelf (Island Oasis by Home Depot, in matte/flat finish)

A quick coat of Minwax polyurethane over the whole table, and the old ketchup trick to polish the brass ferrules, and the end result was quite stunning.

The finished table. Gorgeous!