
By Sarah from Atomic Magpie
Recently, I was lucky enough to snag a trio of vintage Tulip style chairs for a steal. They were rusty, dirty and scuffed and needed a lot of love but, with bones like these, impossible to resist. Widely considered to be a classic of industrial design, the Tulip chair was designed by Finnish born designer Eero Saarinen in the mid 1950’s for Knoll. The smooth, modern lines of this chair have made it an iconic mid-century piece, and one I could not pass up.


After giving the chairs a good look over, I realized that the fiberglass uppers were actually in pretty decent shape and mostly just in need of a really thorough cleaning. That said, it was a good hour of scrubbing and buffing to get them into tip top shape. I started with a little regular kitchen cleaner to get the first layer of grime off, I then followed up with a magic eraser. Which lived up to its name! The chairs were shiny in no time.

The metal bases were another story – covered in rust and dings. Thankfully the rust was only surface deep and hadn’t eroded any of the metal too seriously. I started by sanding them (wearing a breathing mask of course!) with a coarse 100 grit sandpaper, which removed most of the obvious rust. I followed up with a 220 grit to smooth it all out. In between I used a wet rag to wipe away the rust and dirt that was coming off. Some parts of the bare metal were exposed, but I was able to get a smooth surface pretty easily.

In much of my research of restoring tulip chairs I had read about the difficulties many people had faced with getting the bases back on the seats after removing them, so I opted not to take them off, and instead covered the seats. This was mostly because I get frustrated by mechanical things easily and knew I would probably struggle to get them back on in a timely manner. I’m also rather impatient. So trash bags and painters tape it was, and this worked perfectly.
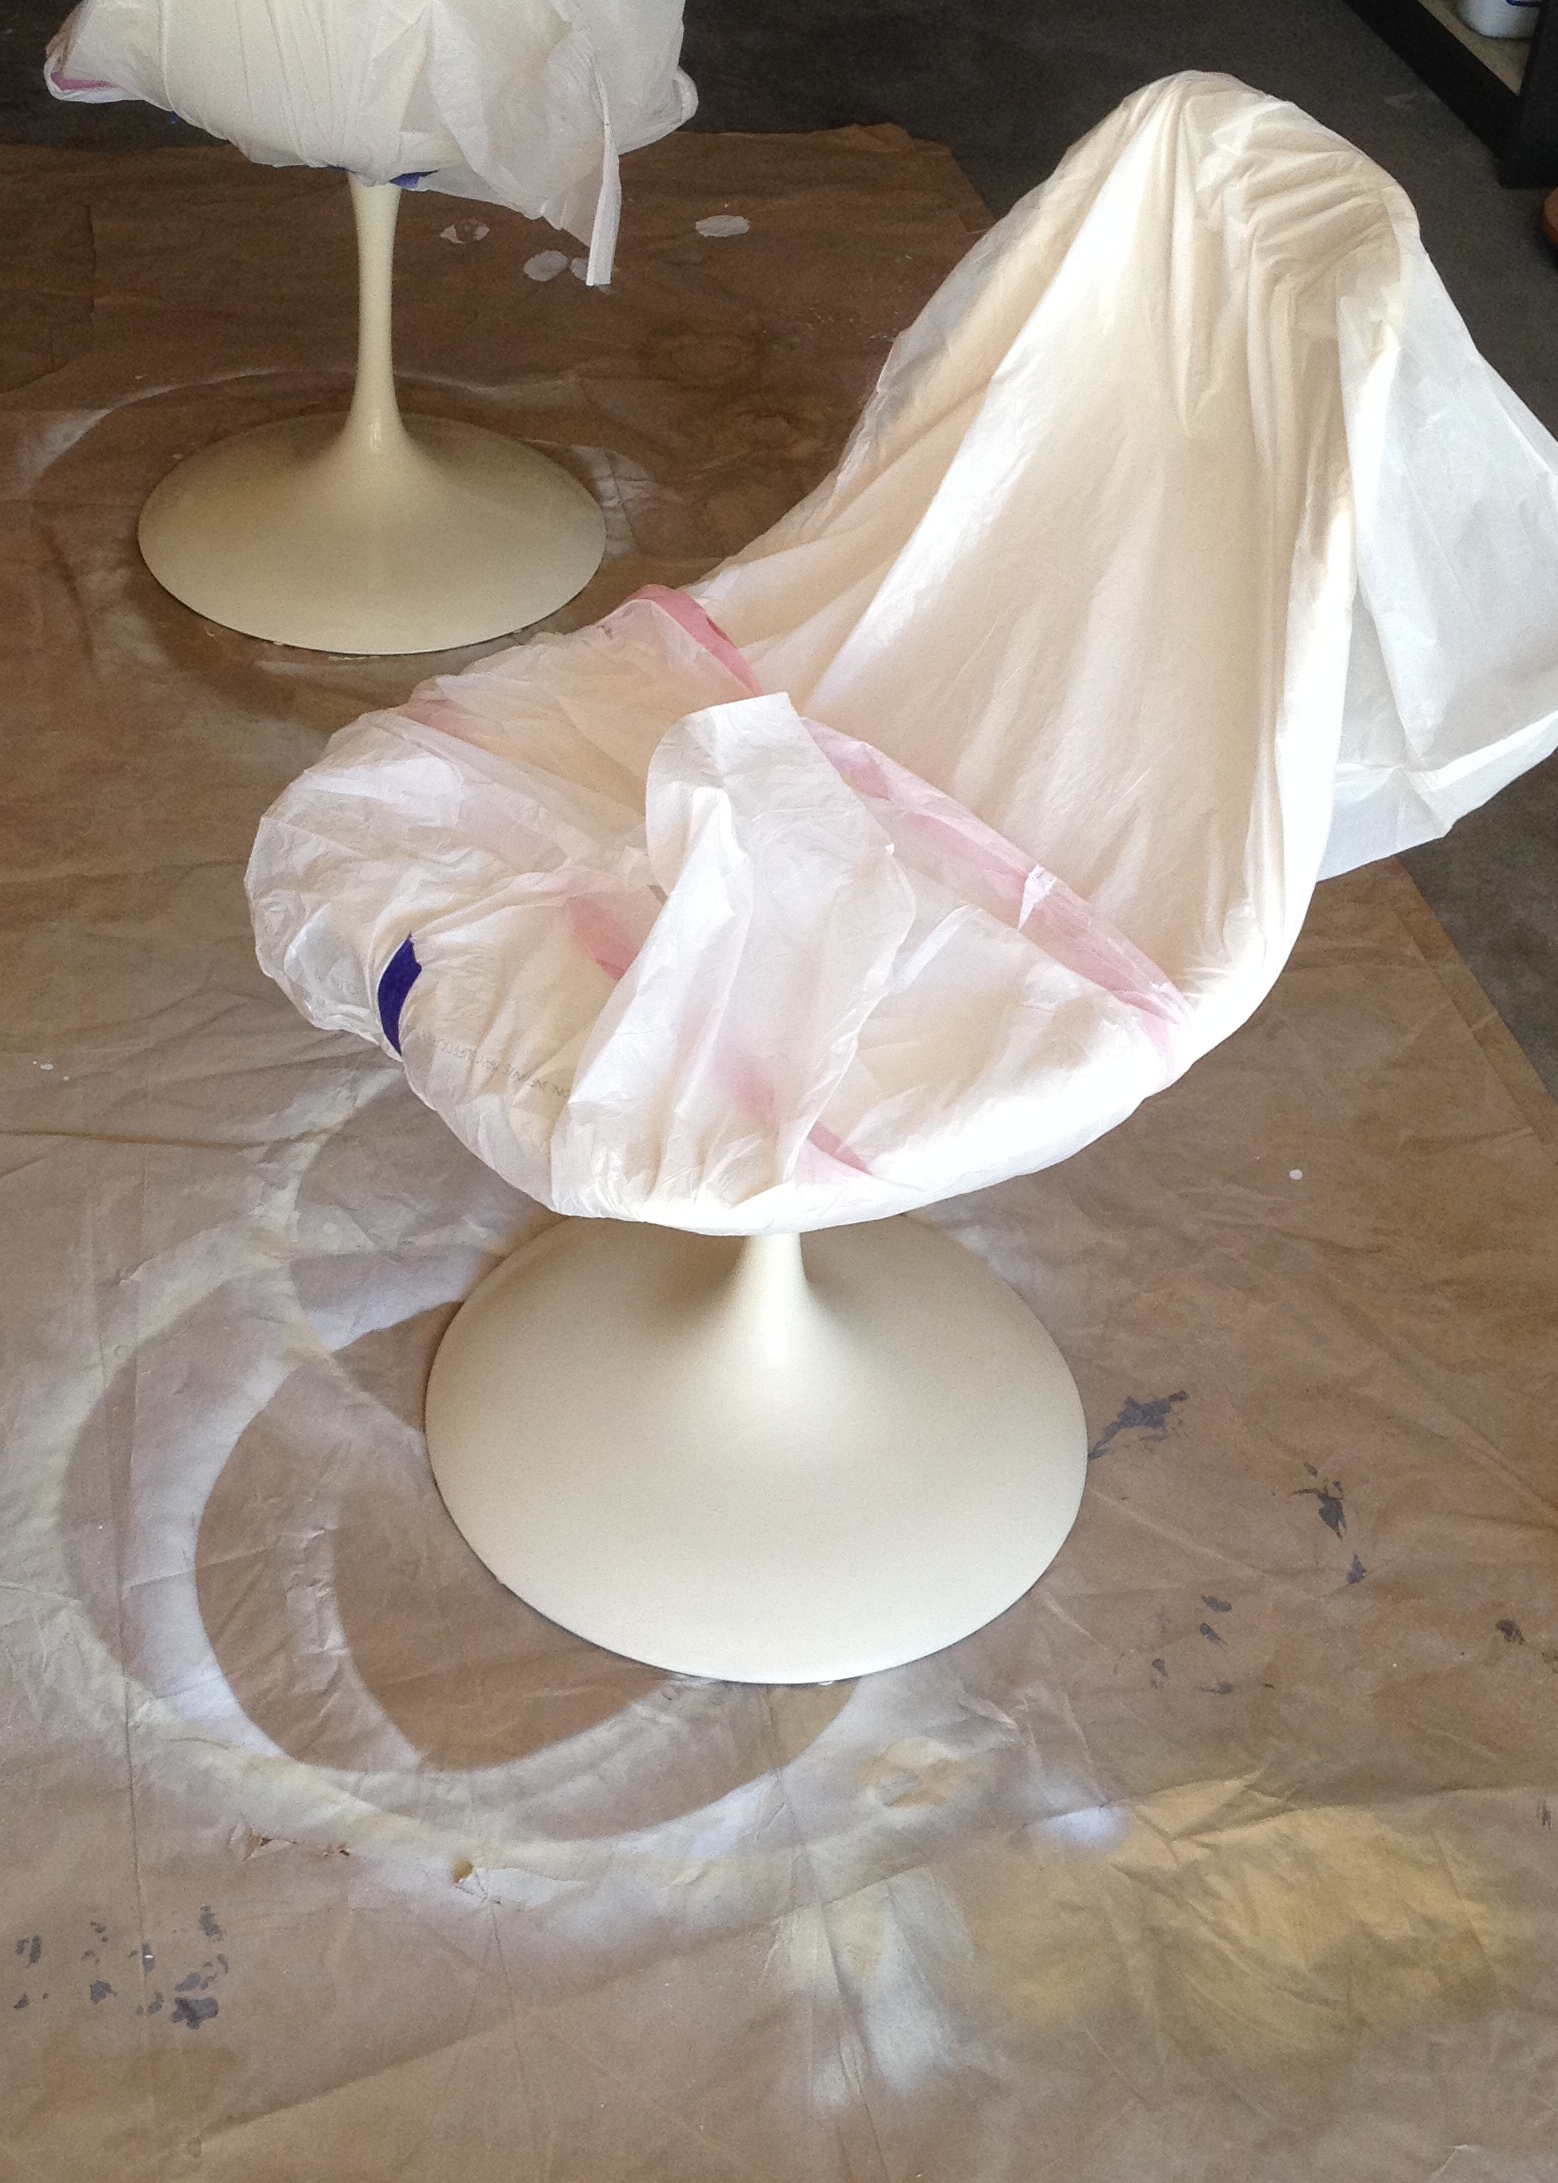
I then primed the bases using “Killz” spray on primer containing rust protection. After letting this dry, I used Krylon’s prime and paint in one, in Ivory. My only advice here is DO NOT USE KRYLON spray paint. I followed the instructions to the T, I shook the can for a good two minutes and the paint came out lumpy. Like little sand granule sized lumps. Freak out, lose my mind, lumpy. So, I had to let this dry completely and sand it off and start the process over (cursing Krylon’s name the whole time). Once I was back to square one, I used my old trusty Rustoleum Heirloom White. This was MUCH BETTER and I should have stuck with what I knew. Lesson learned.

I did 3 light coats of paint, letting each one properly dry in between. I’ve learned over the course of a few projects that when it comes to spray painting, the best finish comes from multiple light layers, as opposed to drowning the first layer. Of course, I’ve read this a million times, but had to learn it for myself. So, take my word for it, it’s true. Once it was fully dried (I let it sit for 24 hours) I went over with a final layer of Rustoleum’s spray on Ultra cover clear gloss.
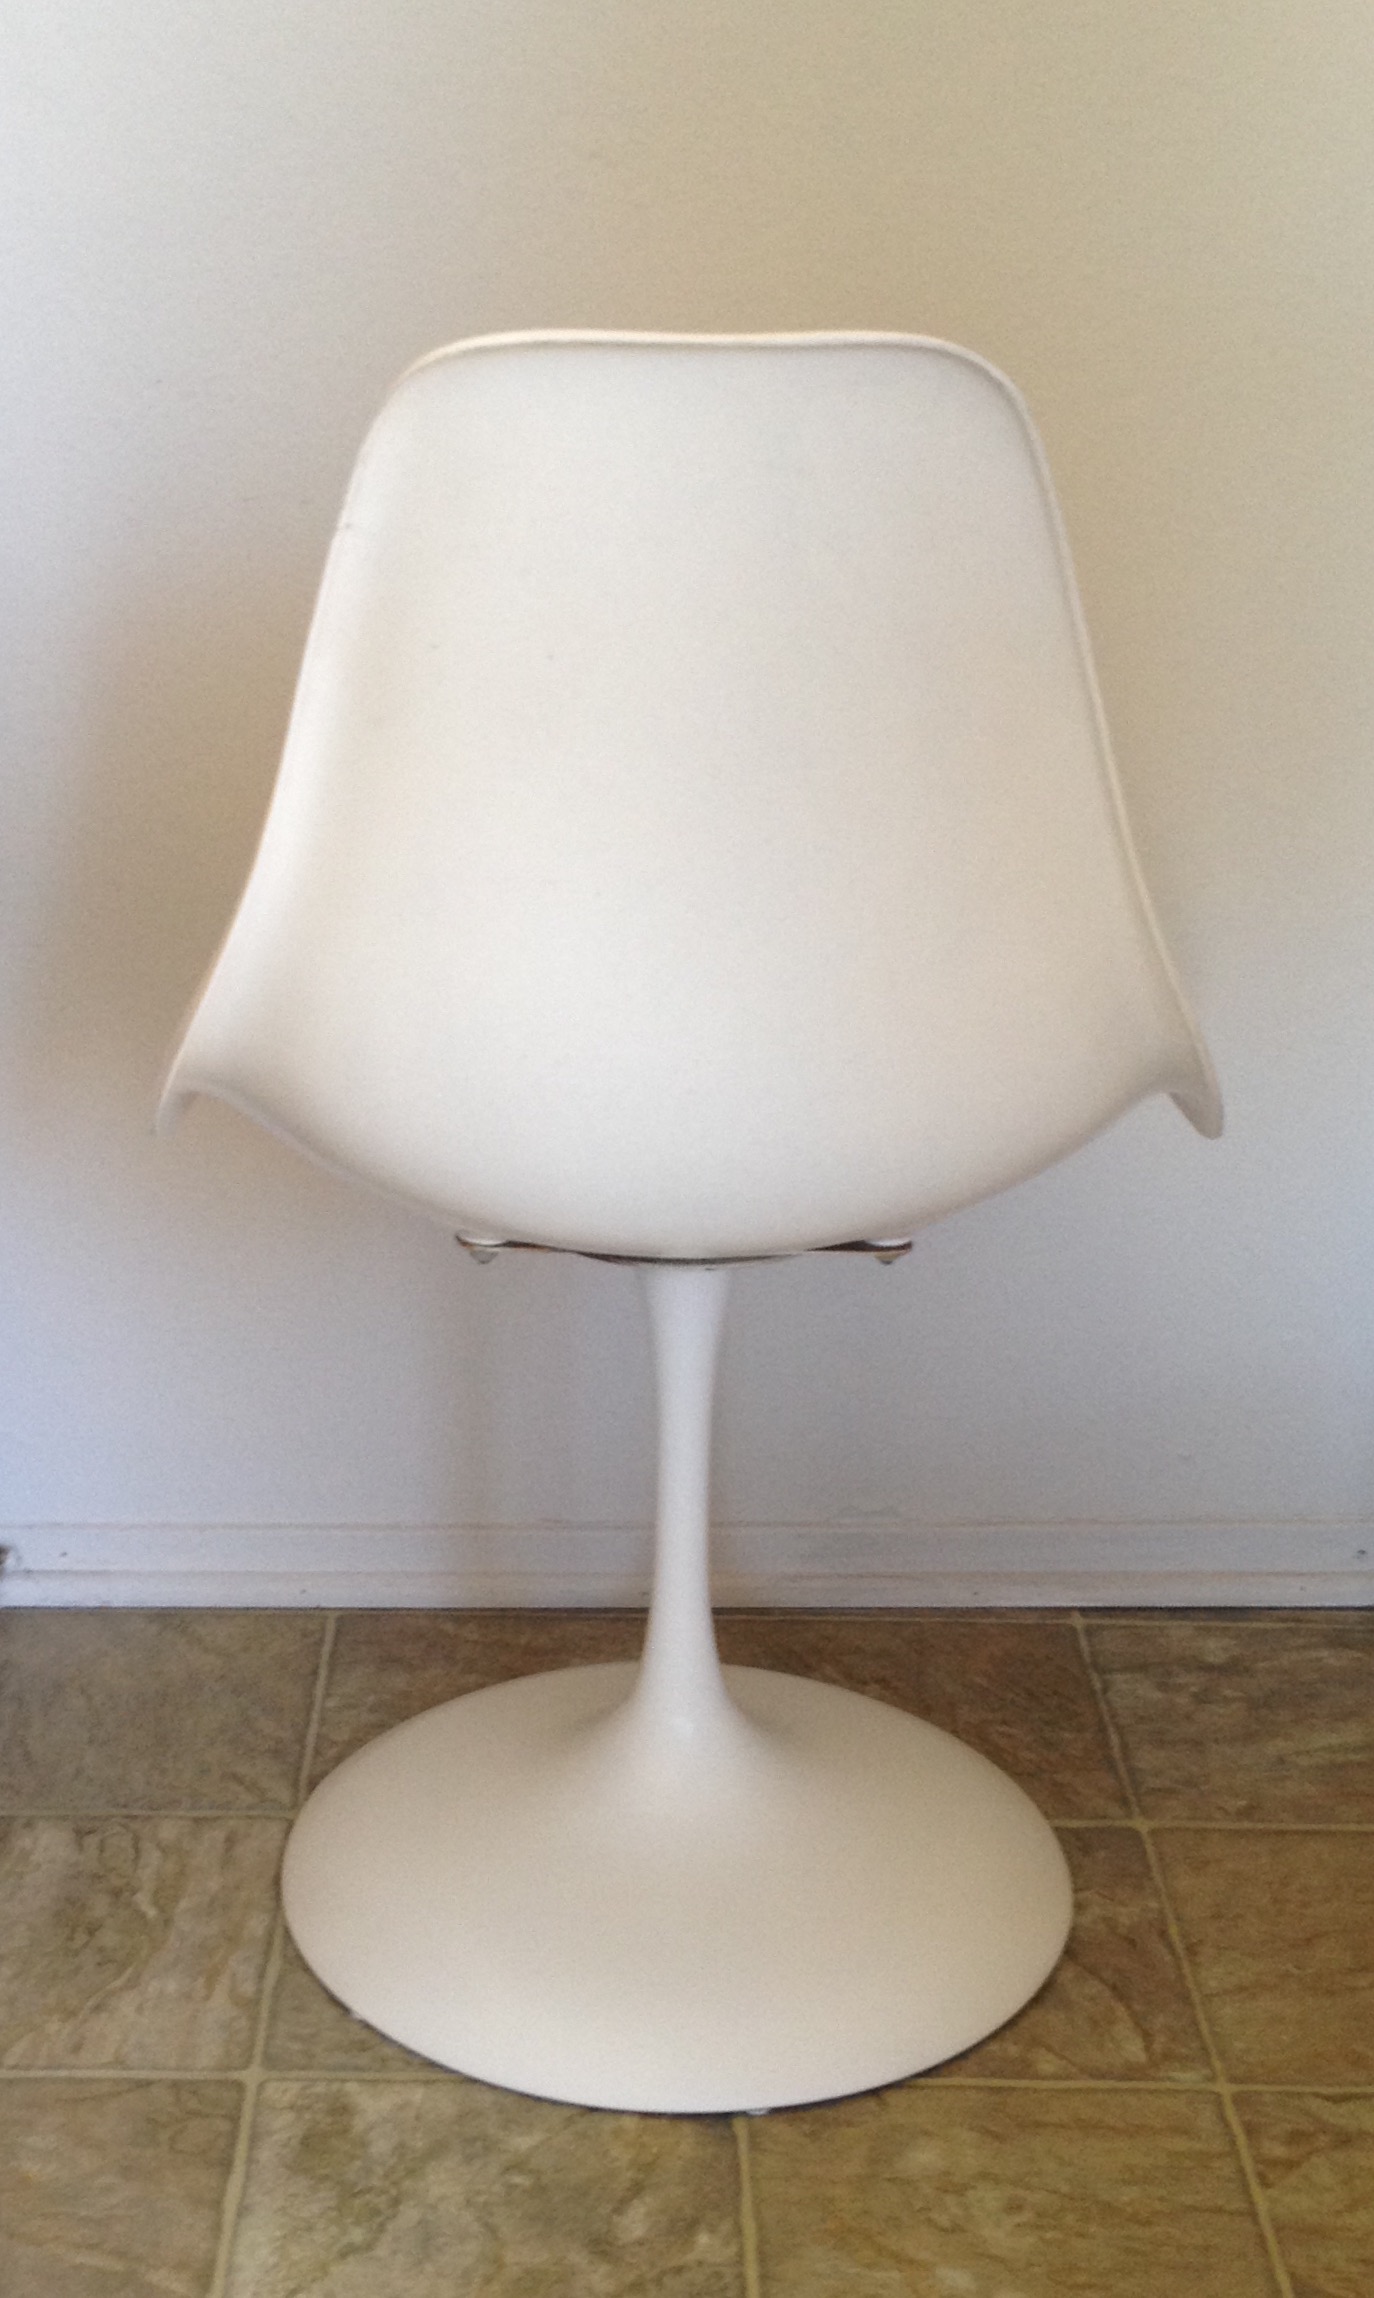
So here is the mostly finished result. These chair pads aren’t the ones I’m going to ultimately use, they’re a temporary fix until the proper ones are finished. I just couldn’t wait to share, but will update the pics as soon as the new pads are complete.


Thanks so much for your post. My tulip chairs and table were in need of much love. I have no art / craft skills and it was in the too hard basket. But I came across your page and thought this seems doable… so trotted off to my local Bunnings bought all the things and I’m so excited with the result on chair number 1. Followed every step you did… down to the creative garbage bags and tape on the chairs. I look forward to doing the other 5 and giving the table a go too. Thanks so much!
LikeLiked by 1 person
So fabulous to hear this! Glad to hear that it worked out – as an update, ours have stood the test of time for a few years now. They still look great and the paint looks as fresh as the day it was done. Thanks so much for sharing 🙂
LikeLike